1.8 KiB
CapRover Admin
Table of Contents
- Introduction
- Step 1: Enable HTTPS
- Step 2: Add a Default Docker Registry
- Step 3: Deploy an App
- Step 4: Enable Monitoring
- Step 5: Change Your Password
Introduction
We present the steps to manage a CapRover Admin node.
Step 1: Enable HTTPS
You need to specify your email address.
You will have to login again.
Now force https.
You will have to login again, and you should notice https is now used.
Step 2: Add a Default Docker Registry
You'll have to add a default docker registry so other CapRover nodes in the cluster can download images from, and it can be self-hosted (managed by CapRover itself), to add it, go to Cluster -> Docker Registry Configuration.
You can check official documentation to know more about Docker registry options.
Step 3: Deploy an App
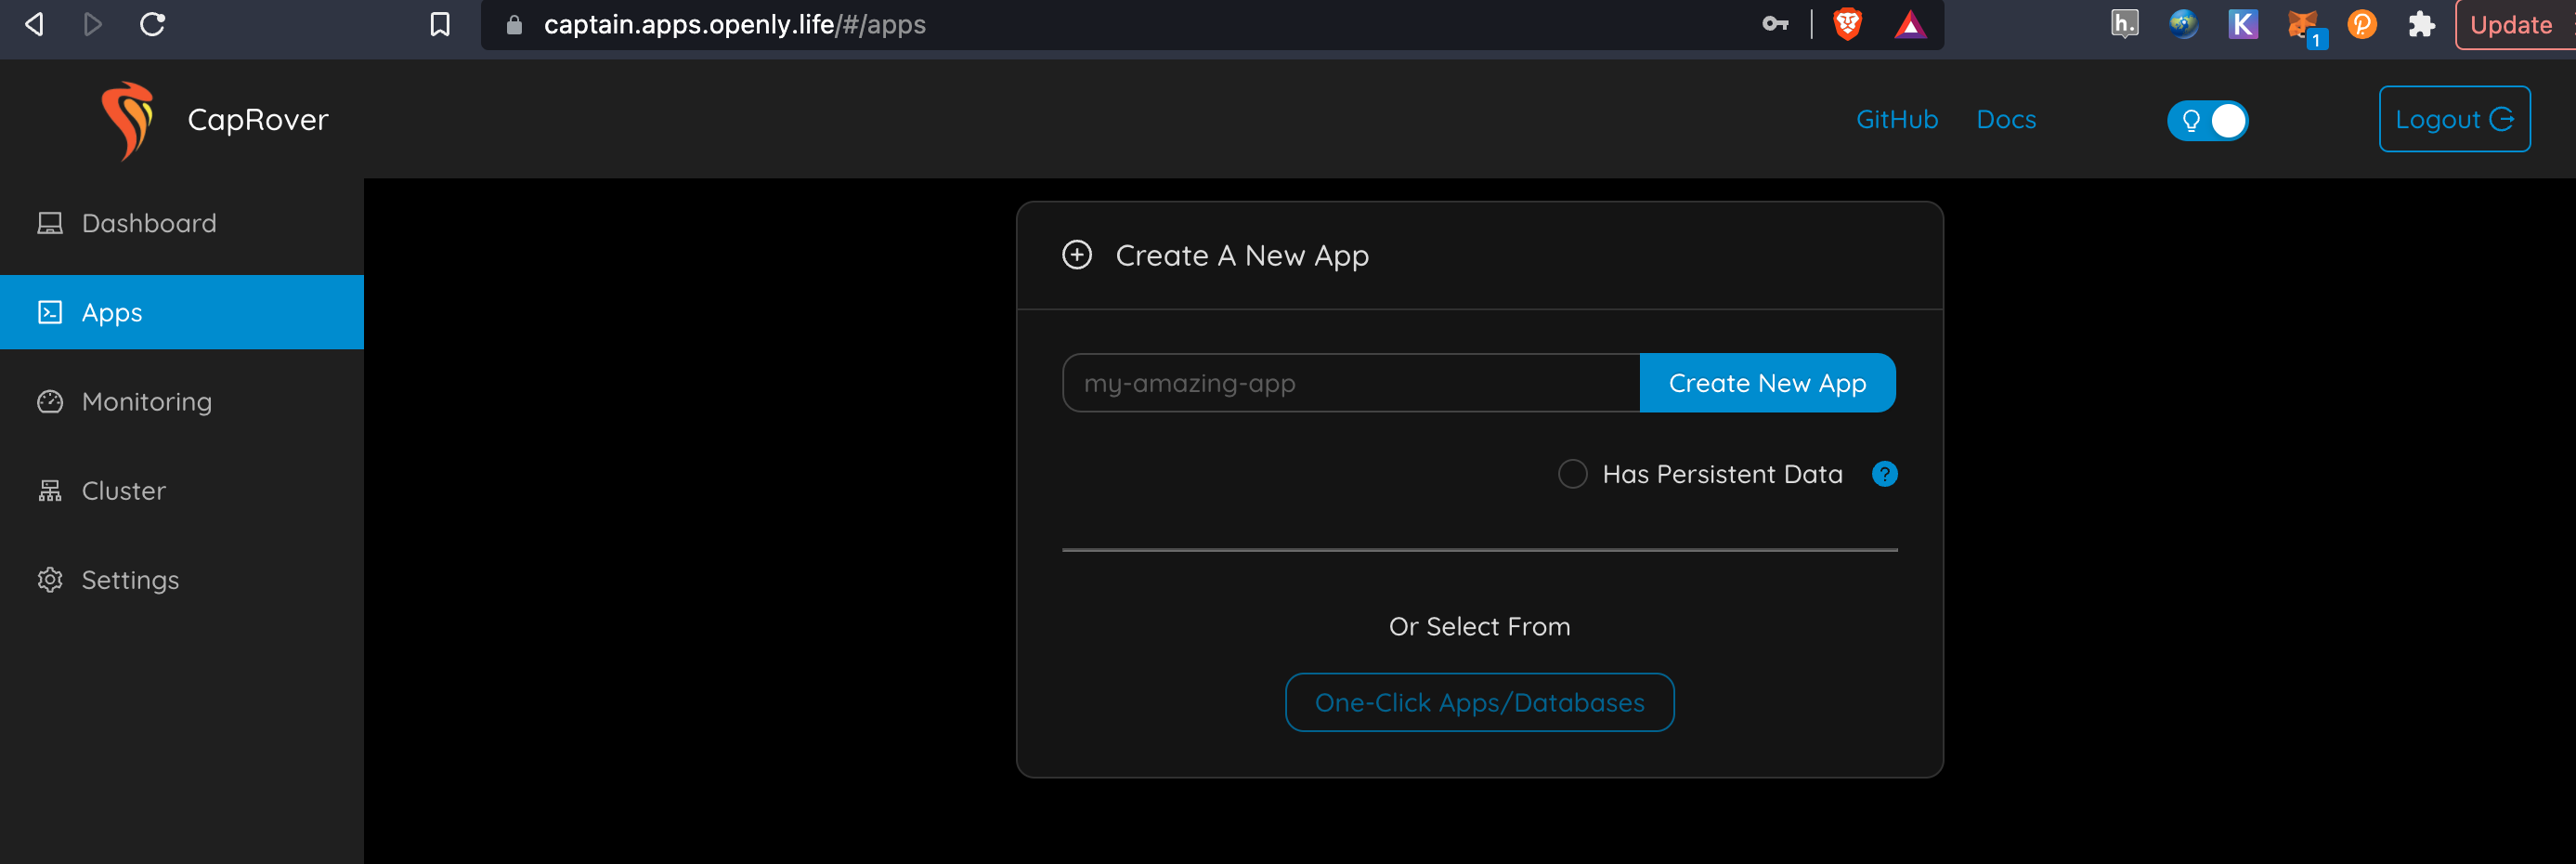
just go to apps & follow the instructions, there is much more info on caprover website.
Step 4: Enable Monitoring
You should now see
Step 5: Change Your Password
- Go to
Settingsand change your password. This is important for your own security.
Further information regarding the process of attaching a new node to the cluster can be found through the following documentation link: Attach a New Node to the Cluster


