4.9 KiB
WooCommerce on the TFGrid
Table of Contents
- Introduction
- Prerequisites
- Deploy Wordpress
- Set a DNS Record
- HTTPS with Caddy
- Access Admin Panel
- Install WooCommerce
- Troubleshooting
- References
Introduction
We show how to deploy a free and open-source ecommerce on the ThreeFold Grid. We will be deploying on a micro VM with an IPv4 address.
WooCommerce is the open-source ecommerce platform for WordPress. The platform is free, flexible, and amplified by a global community. The freedom of open-source means you retain full ownership of your store’s content and data forever.
Prerequisites
- A TFChain account
- TFT in your TFChain account
Deploy Wordpress
We start by deploying Wordpress on the ThreeFold Dashboard.
- On the Threefold Dashboard, go to the Wordpress deloyment page
- Deploy a Wordpress with an IPv4 address and sufficient resources to run Wordpress
- IPv4 Address
- Minimum vcores: 2vcore
- Minimum MB of RAM: 4GB
- Minimum storage: 50GB
- After deployment, note the VM IPv4 address
Set a DNS Record
- Go to your domain name registrar
- In the section Advanced DNS, add a DNS A Record to your domain and link it to the IP address of the VM you deployed on:
- Type: A Record
- Host: @
- Value: <IPv4_Address>
- TTL: Automatic
- It might take up to 30 minutes to set the DNS properly.
- To check if the A record has been registered, you can use a common DNS checker:
- In the section Advanced DNS, add a DNS A Record to your domain and link it to the IP address of the VM you deployed on:
https://dnschecker.org/#A/example.com
HTTPS with Caddy
We set HTTPS with Caddy.
- Install Caddy
apt install -y debian-keyring debian-archive-keyring apt-transport-https curl
curl -1sLf 'https://dl.cloudsmith.io/public/caddy/stable/gpg.key' | gpg --dearmor -o /usr/share/keyrings/caddy-stable-archive-keyring.gpg
curl -1sLf 'https://dl.cloudsmith.io/public/caddy/stable/debian.deb.txt' > /etc/apt/sources.list.d/caddy-stable.list
apt update
apt install caddy
- Set a reverse proxy on port 80 with your own domain
caddy reverse-proxy -r --from example.com --to :80
You should see in the logs that it successfully obtains an SSL certificate, and after that you can try navigating to your site's domain again to verify it's working. Using a private window or adding https:// specifically might be necessary until your browser drops its cache.
When you're satisfied that everything looks good, hit ctl-c to exit Caddy and we'll proceed to making this persistent.
Adjust the Firewall
By default, ufw is set on Wordpress application from the Dashboard. To use Caddy and set HTTPS, we want to allow port 443.
- Add the permissions
ufw allow 443
Manage with zinit
We manage Caddy with zinit.
- Open the file for editing
nano /etc/zinit/caddy.yaml
- Insert the following line with your own domain and save the file
exec: caddy reverse-proxy -r --from example.com --to :80
- Add the new Caddy file to zinit
zinit monitor caddy
Zinit will start up Caddy immediately, restart it if it ever crashes, and start it up automatically after any reboots. Assuming you tested the Caddy invocation above and used the same form here, that should be all there is to it.
Here are some other Zinit commands that could be helpful to troubleshoot issues:
- See status of all services (same as "zinit list")
zinit
- Get logs for a service
zinit log caddy
- Restart a service (to test configuration changes, for example)
zinit stop caddy
zinit start caddy
Access Admin Panel
You can access the admin panel by clicking on Admin panel under Actions on the Dashboard. You can also use the following template on a browser with your own domain:
example.com/wp-admin
If you've forgotten your credentials, just open the Wordpress info window on the Dashboard.
Install WooCommerce
On the Wordpress admin panel, go to Plugins and search for WooCommerce.
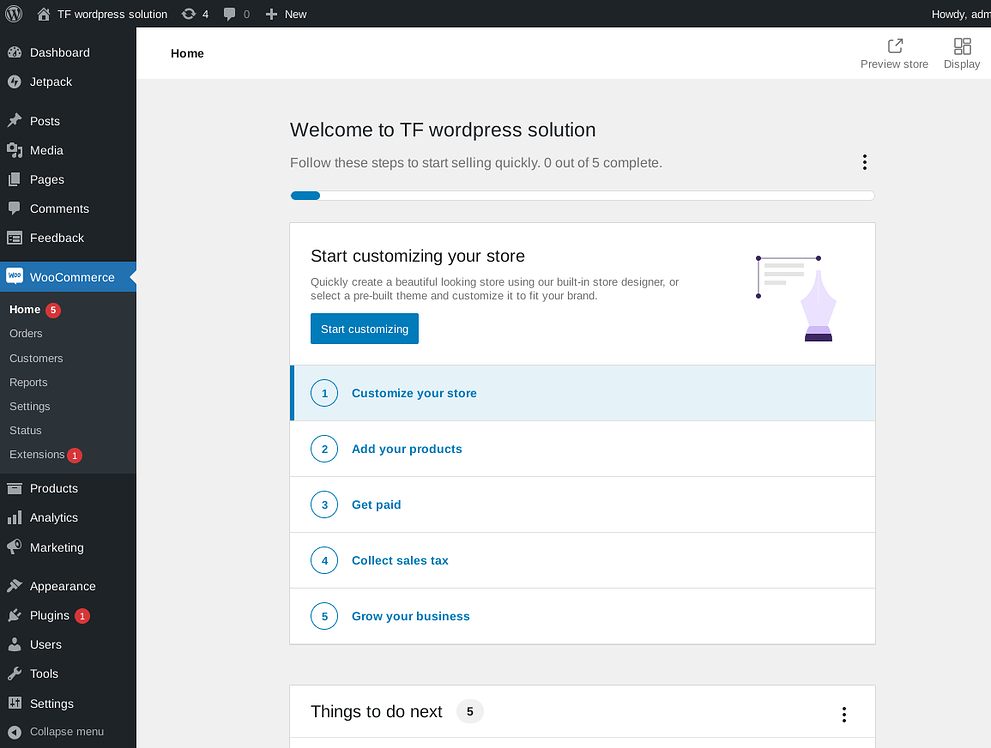
Once this is done, you can open WooCommerce on the left-side menu.
You can then set your store and start your online business!
Troubleshooting
You might need to deactivate some plugins that aren't compatible with WooCommerce, such as MailPoet.
References
Make sure to read the Wordpress and Woocommerce documentation to set your ecommerce.


