<h1> CapRover Admin <h1> <h2> Table of Contents </h2> - [Introduction](#introduction) - [Step 1: Enable HTTPS](#step-1-enable-https) - [Step 2: Add a Default Docker Registry](#step-2-add-a-default-docker-registry) - [Step 3: Deploy an App](#step-3-deploy-an-app) - [Step 4: Enable Monitoring](#step-4-enable-monitoring) - [Step 5: Change Your Password](#step-5-change-your-password) *** ## Introduction We present the steps to manage a CapRover Admin node. ## Step 1: Enable HTTPS 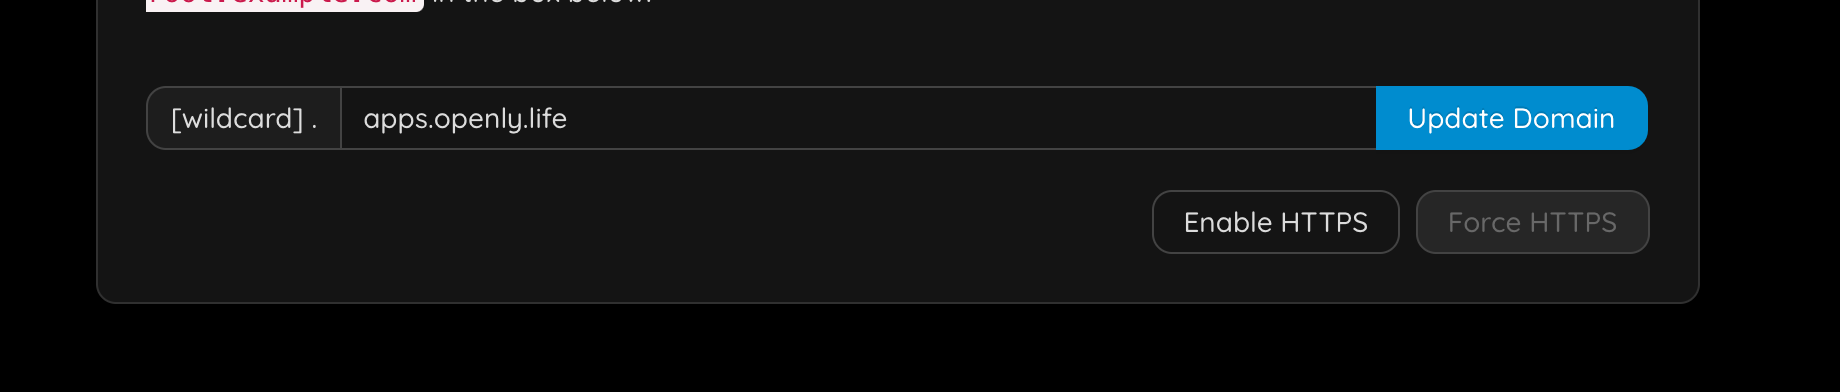 You need to specify your email address. You will have to login again.  > Now force https. You will have to login again, and you should notice https is now used. ## Step 2: Add a Default Docker Registry You'll have to add a default docker registry so other CapRover nodes in the cluster can download images from, and it can be self-hosted (managed by CapRover itself), to add it, go to `Cluster` -> `Docker Registry Configuration`. 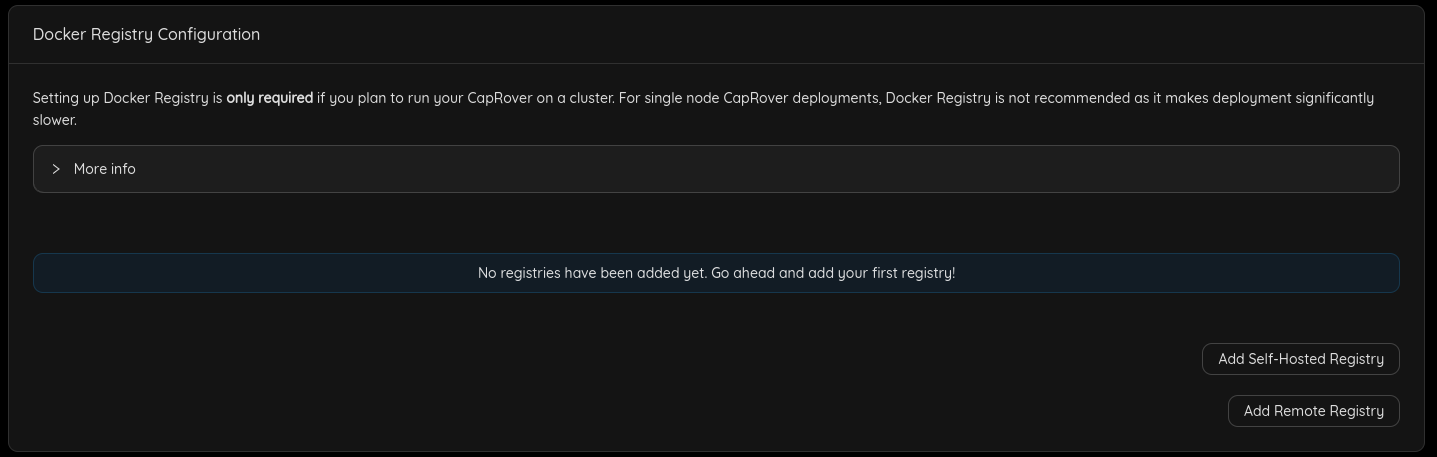 You can check [official documentation](https://caprover.com/docs/app-scaling-and-cluster.html#setup-docker-registry) to know more about Docker registry options. ## Step 3: Deploy an App 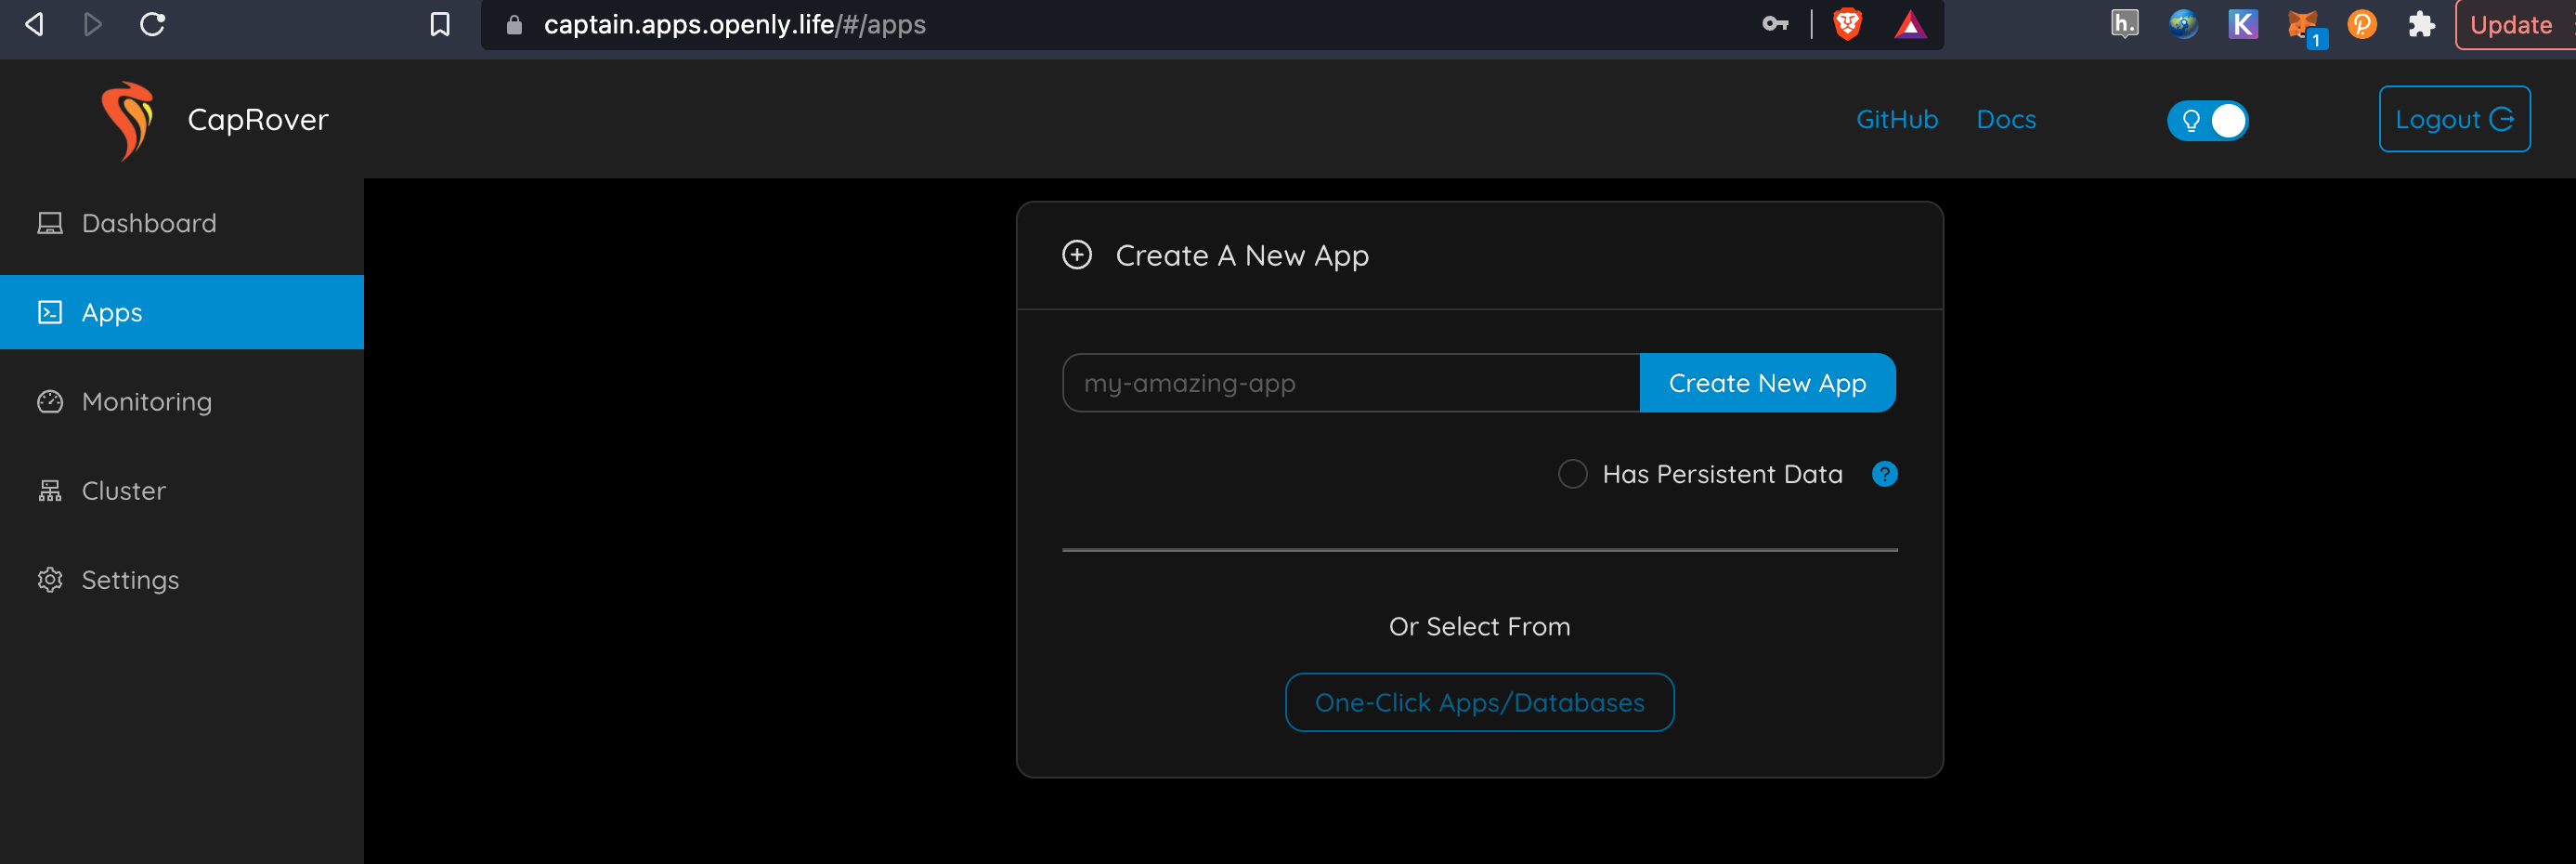 just go to apps & follow the instructions, there is much more info on caprover website. ## Step 4: Enable Monitoring  You should now see  ## Step 5: Change Your Password - Go to `Settings` and change your password. This is important for your own security. > Further information regarding the process of attaching a new node to the cluster can be found through the following documentation link: [Attach a New Node to the Cluster](./caprover_worker.md/#step-2-attach-a-new-node-to-the-cluster)