CasperLabs
Table of Contents
- [Introduction](#introduction)
- [Deployment](#deployment)
***
## Introduction
[Casper Network](https://casperlabs.io/) is a blockchain protocol built from the ground up to remain true to core Web3 principles and adapt to the needs of our evolving world.
- Make sure you have a [wallet](wallet_connector.md)
- From the sidebar click on **Applications**
- Click on **Casperlabs**
## Deployment
__Process__ :
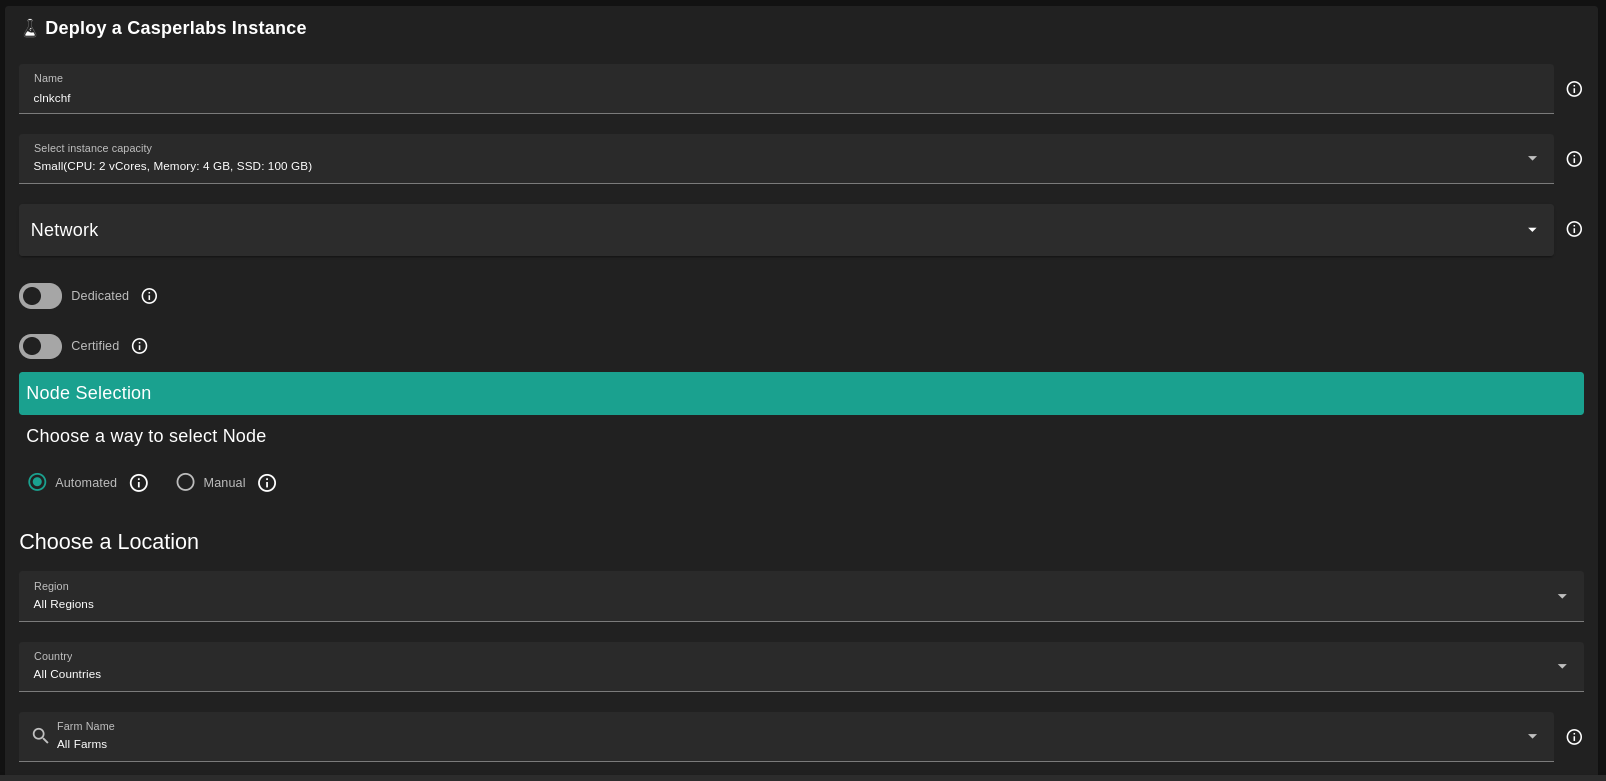
- Enter an Application Name. It's used in generating a unique subdomain on one of the gateways on the network alongside your twin ID. Ex. ***cl98casp*.gent02.dev.grid.tf**
- Select a capacity package:
- **Small**: {cpu: 2, memory: 4, diskSize: 100 }
- **Medium**: {cpu: 4, memory: 16, diskSize: 500 }
- **Large**: {cpu: 8, memory: 32, diskSize: 100 }
- Or choose a **Custom** plan
- Choose the network
- `Public IPv4` flag gives the virtual machine a Public IPv4
- `Dedicated` flag to retrieve only dedeicated nodes
- `Certified` flag to retrieve only certified nodes
- Choose the location of the node
- `Region`
- `Country`
- `Farm Name`
- Choose the node to deploy on
> Or you can select a specific node with manual selection.
- `Custom Domain` flag lets the user to use a custom domain
- Choose a gateway node to deploy your Casperlab instance on.
After that is done you can see a list of all of your deployed instances
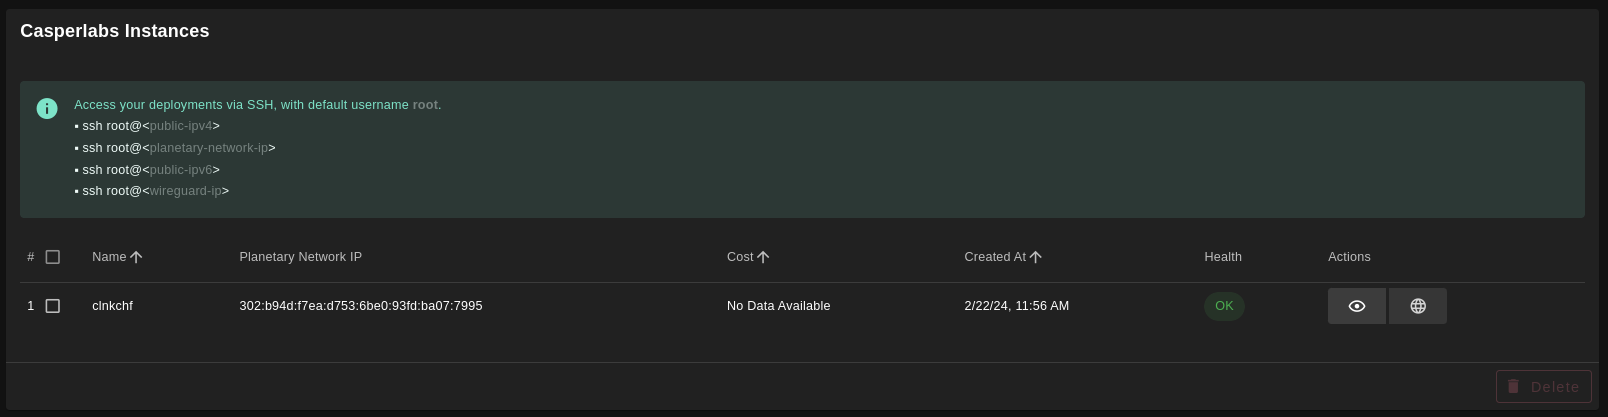
Click on ***Visit*** to go to the homepage of your Casperlabs instance! The node takes a long time in order for the RPC service to be ready so be patient!
